Occasionally, there are employees who need assistance filling out all of the required forms through the web interface. There is a method for the Onboarding administrator to be able to assist new hires filling out the necessary information.
From the View Employees page on the Onboarding tab, click on “Provide Onboarding Assistance.”
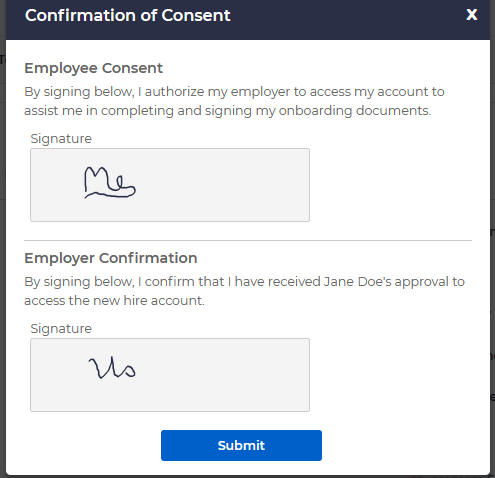
Both the Employee and the Employer must provide consent to access the employee’s account by digitally signing the form. Have the employee sign the screen, under Employee Consent and then sign the screen yourself under Employer Consent.
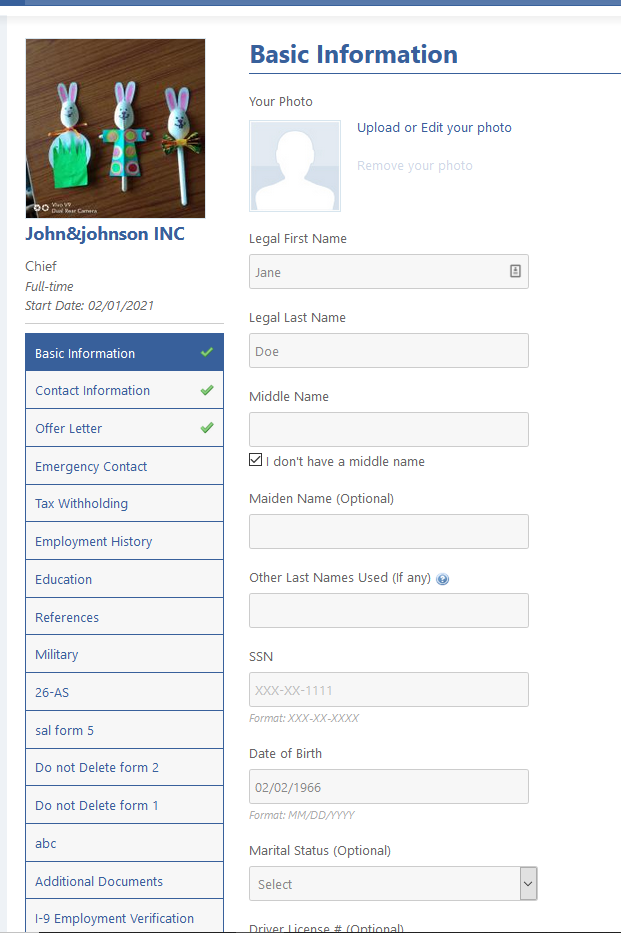
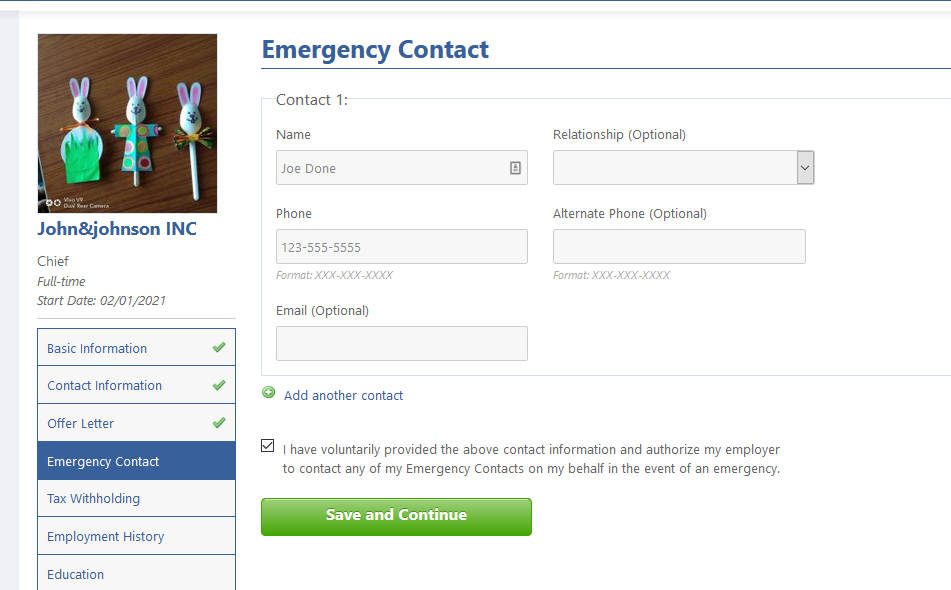
Click submit and you will be brought to the Basic Information page. Either you or the employee needs to fill out all of the fields on this page, with the exception of those marked “Optional.”
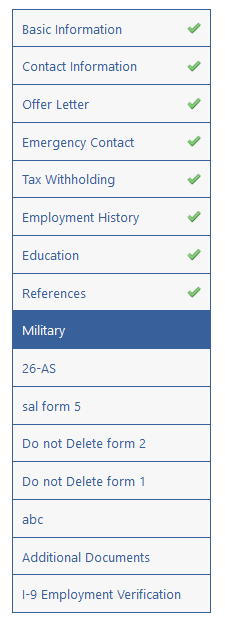
The forms that are available on this page are dependent on which ones have been required to be set up by the administrator during the onboarding process. The below guide is meant to provide an example.
Note that you and the employee may freely navigate back through completed sections of this application/onboarding form by using the menu on the left if you need to make corrections. Checkboxes will appear next to completed sections, so it is possible to track progress.
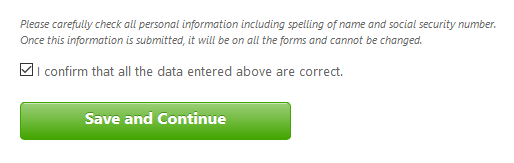
Verify all of the information and have the employee click on the box at the bottom confirming that all entered information is correct and click Save and Continue.
Note: this will need to be done on all pages of this form.
The content of this page will depend on what was already submitted. You need to go through each page in the template that was created for new hires.
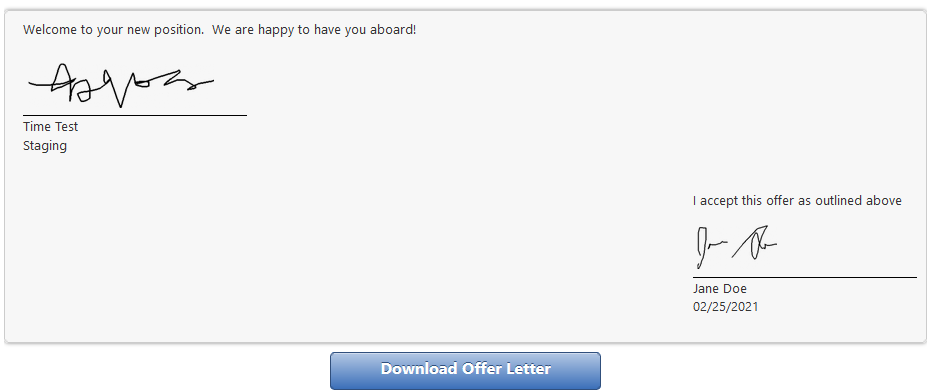
Here they can sign or see the offer letter:
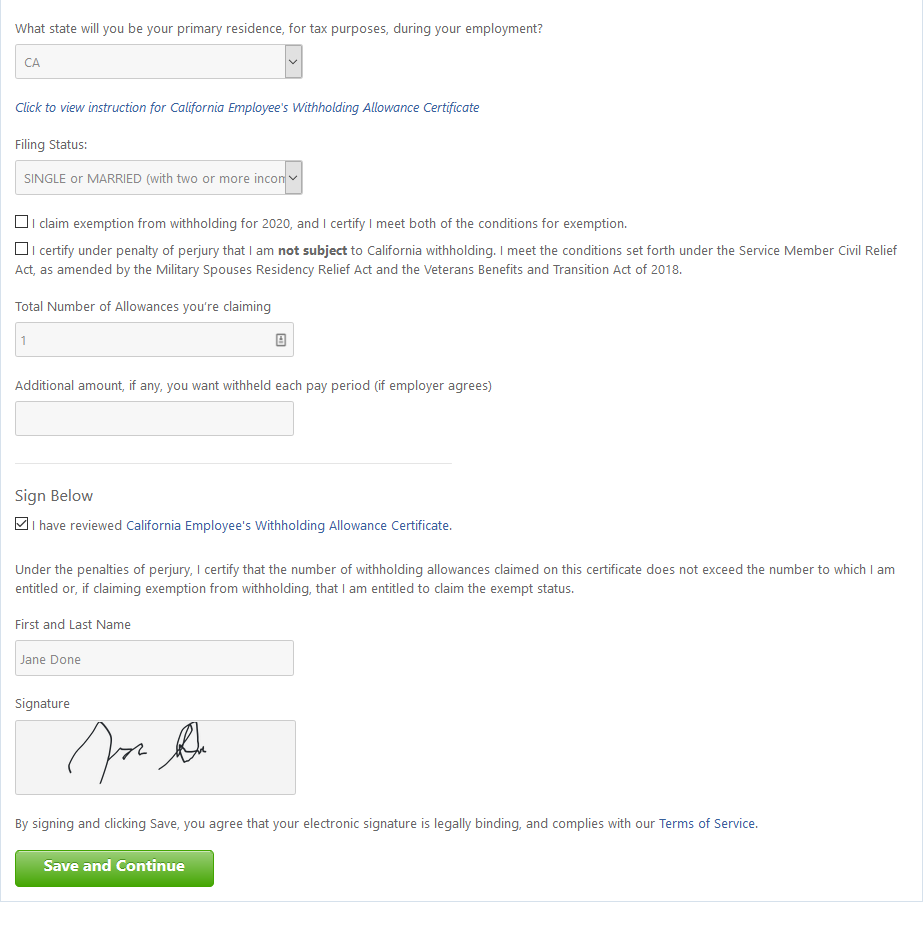
You can update the page, and view the signed form here. You must state which state will be your primary residence for tax purposes, select filing status and number of allowances the employee is claiming.
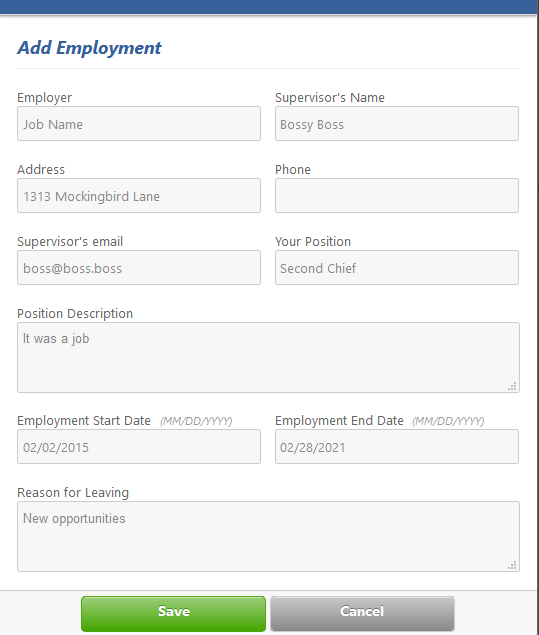
On the next page you can help the employee fill out their employment history
Once this is complete, it will look something like this:
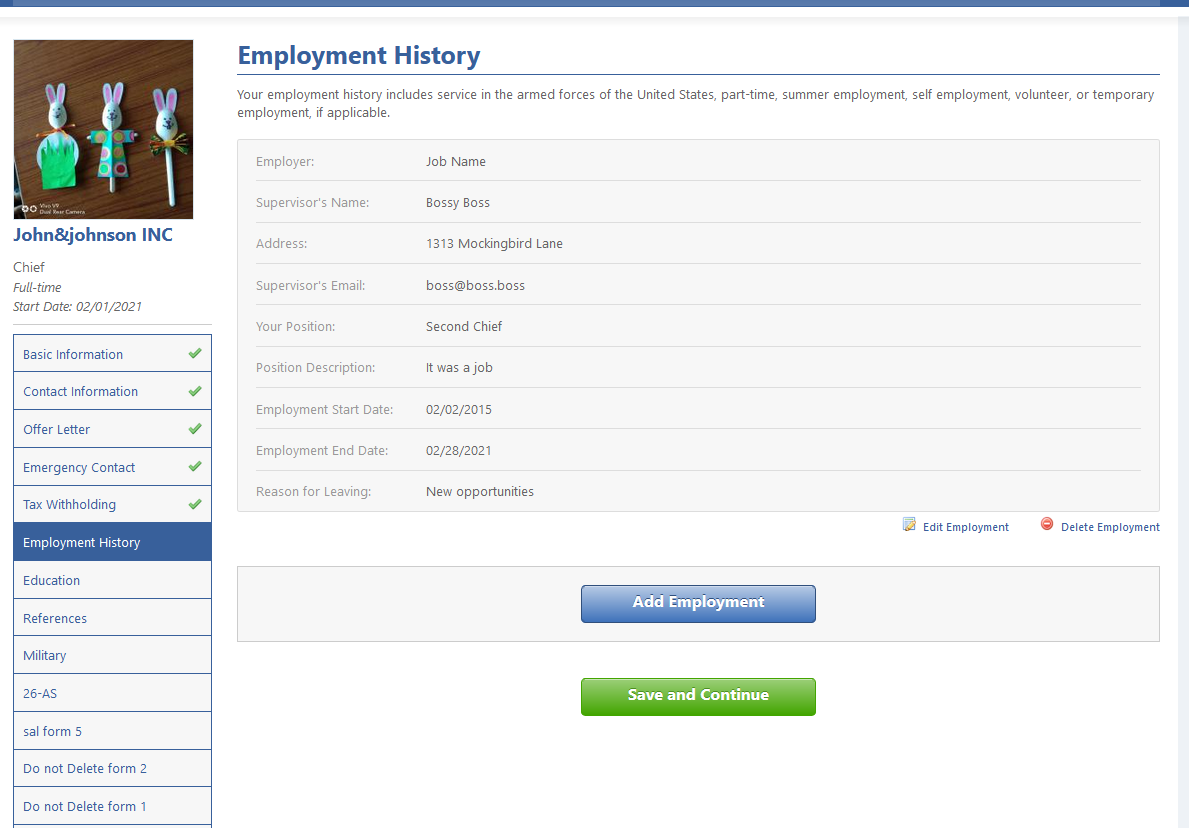
Either add more employment history or click Save and Continue.
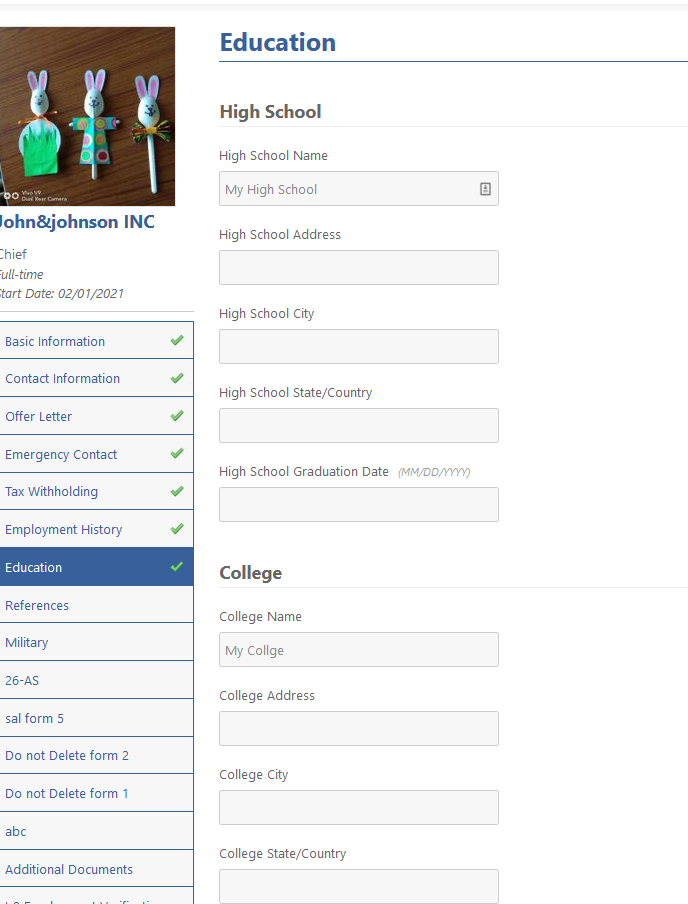
Next the employee will need to fill out their education history.
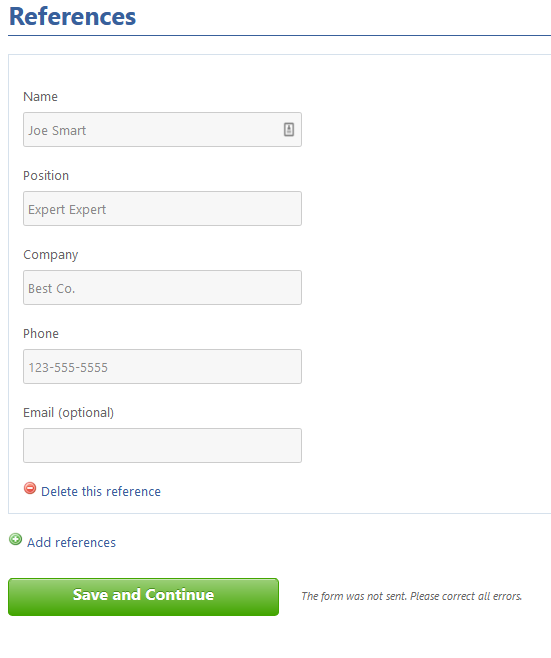
At this point they can fill out any references they have. If the user has more than one reference, they can click “Add References” at the bottom.
There may be a number of additional documents which may be required for the onboarding process. Companies have the option of including these or not in using the document management tools provided.
Have the employee fill out any other forms that are provided. Upload any required identification information and fill out any other forms that are required through the process.
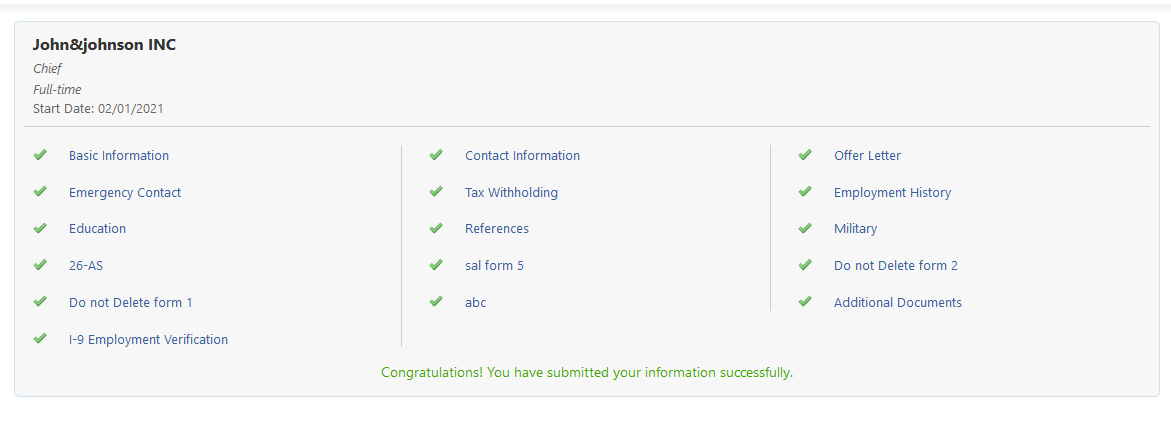
Once everything is complete, you and the employee should receive the following message.
The newly onboarded employee will now show under the Employees tab on the View Employees page:
