The first time you use Heartland Time, a Heartland support rep will assist in the initial setup. We highly encourage you to review the sections in this document to verify all settings are correct before actively using Heartland Time.
How to Log into Heartland Time
When your Heartland Rep adds you to Heartland Time, they will provide you with a login account based on your email address, or you will receive an invitation in your email to login to Heartland Time.
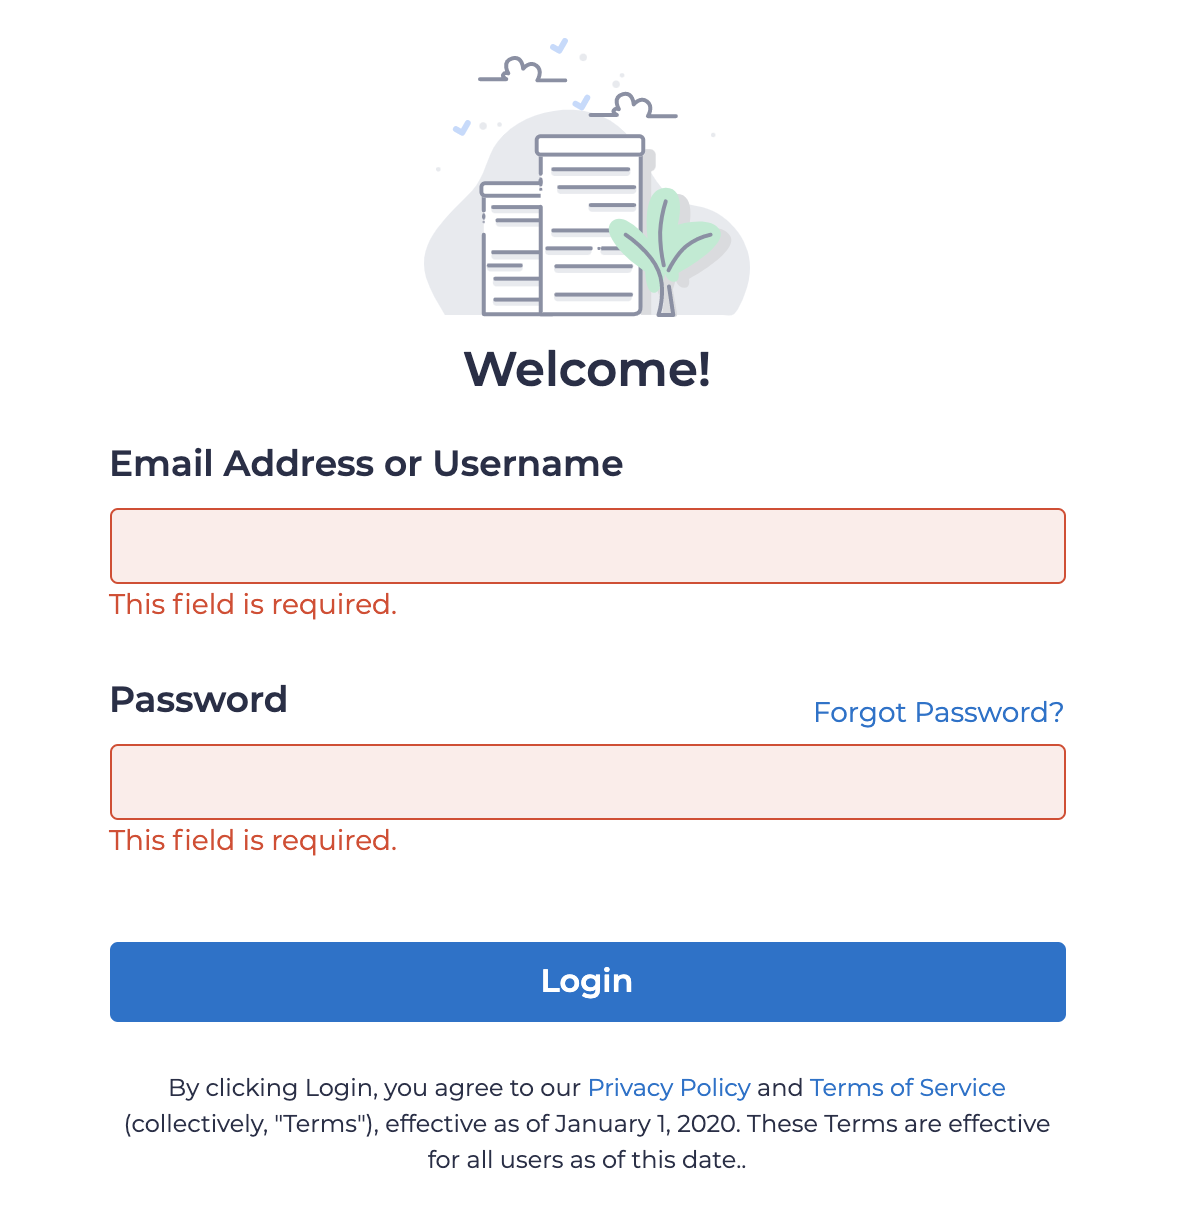
To login to Heartland Time:
- Go to https://www.heartlandtime.com.
- Type in the email address and new password.
- Click Sign In.
Review your Pay Groups
Pay Groups allow you to set your employees’ pay frequency (weekly, biweekly, semi-monthly, monthly). After the initialization process the most common pay periods will be added to your Pay Groups. You are able to add more if required, but these will handle most of your employee’s needs. For more information on Pay Groups or creating a custom Pay Group, please see the Help Center.
- IMPORTANT NOTE: This is a critical step! Please verify that these settings are accurate to prevent payroll issues.
You select and edit the Pay Group that most closely matches your current pay period. For example, if your pay period runs weekly from Monday to Sunday, you edit the Weekly Pay Group and update the pay period accordingly. If your pay period is monthly, bi-weekly or other, then you select the pay period that most closely matches your company policy.
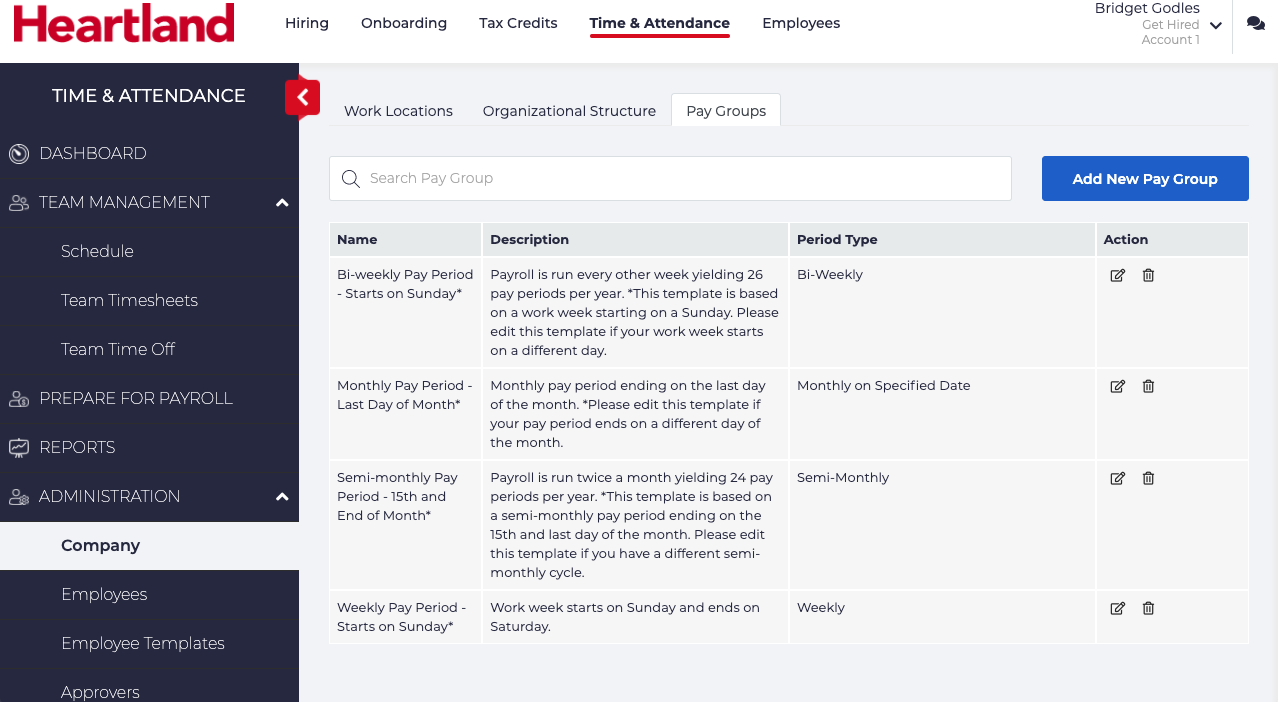
To update the pay group for your employees, follow these steps:
- Login to Heartland Time.
- Click ADMINISTRATION > Company from the left navigation panel.
- Click Pay Groups from the top menu tab.
- Click the Edit icon
 for the pay group that most closely matches your schedule.
 - Update the following:
- Name: Update the label to make it easier to know what the pay group is at a glance. A recommendation is to name it by the Frequency, then when it starts.
For example: If you are updating the weekly schedule and your work week starts on a Monday, then update the name to Weekly Pay Period - Starts on Monday. - Description: Update the description to fit your schedule. For example: If updating a weekly schedule and it starts on a Monday rather than a Sunday, update the description to reflect this.
- Pay Frequency: If required, update the pay frequency.
- First Day of the Week: Set the starting day for your employee’s work week. For example: If your work week starts on Monday, set this to Monday.
- The Preview section displays the next five pay periods so you can verify these settings are accurate.
- Name: Update the label to make it easier to know what the pay group is at a glance. A recommendation is to name it by the Frequency, then when it starts.
- Click Save when complete.
The following is an example of updating a Weekly Pay Group to start on Monday:
Configure Overtime Rules and Pay Codes
Assign Overtime Rules
Once your Pay Groups have been updated, you will want to update your Pay Rules & Codes. In this section we will be updating the Overtime Rules that your business uses, and verifying the Pay Codes.
Overtime Rules refers to the laws and contracts that define when employees are paid at an overtime rate. Typically this is any hour over 40 hours a week, but may be different depending on your location and contractual agreements.
Heartland Time includes the most common Overtime Rules for every state in the United States and other countries. If you require a custom Overtime Rule, please contact your support representative.
To update the Overtime Rules to match your company:
- Click Administration > Pay Rules & Codes.
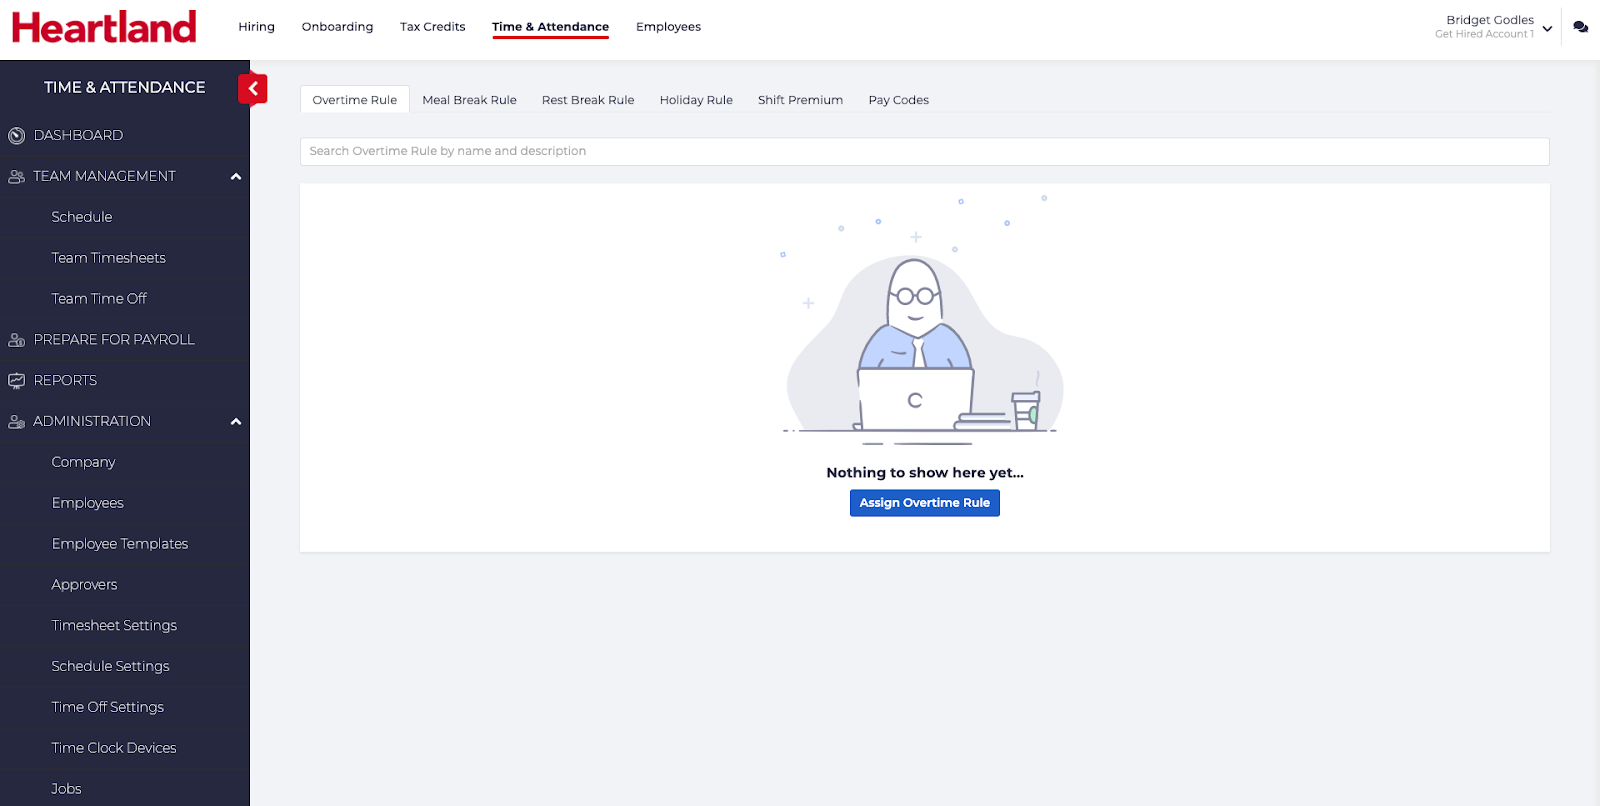
- Click the Overtime Rule tab near the top of the page. (This should be selected by default.)
- Click Assign Overtime Rule.
- In the search bar, enter the first characters for your state to filter options.
For example: If your company employees work in Oregon, you would type Ore to narrow your search display to Oregon. - Click the state your employees work in.
- Select Save when complete.
The following examples sets up the Overtime Rules for a company in Oregon:
Verify Pay Codes
Pay codes determine the Employee’s pay rate based on certain conditions including:
- Regular: The employee’s regular pay rate.
- Overtime: The employee’s pay rate is 1.5 times the Regular pay rate.
- Holiday: For employees that are paid on certain holidays at a different rate than a regular work day (New Years, July 4, etc) will be paid from this rate.
- For example: Typical overtime is 1.5 times the employee’s Regular salary. Some organizations have this value higher based on the agreements with their employees or labor unions.
- IMPORTANT NOTE: Please review this information for accuracy. Errors in the pay code and multiplier can cause employees to be paid with the incorrect rates. If you have questions, please contact your support representative.
To verify the Pay Codes are up to date:
- Click Administration > Pay Rules & Codes.
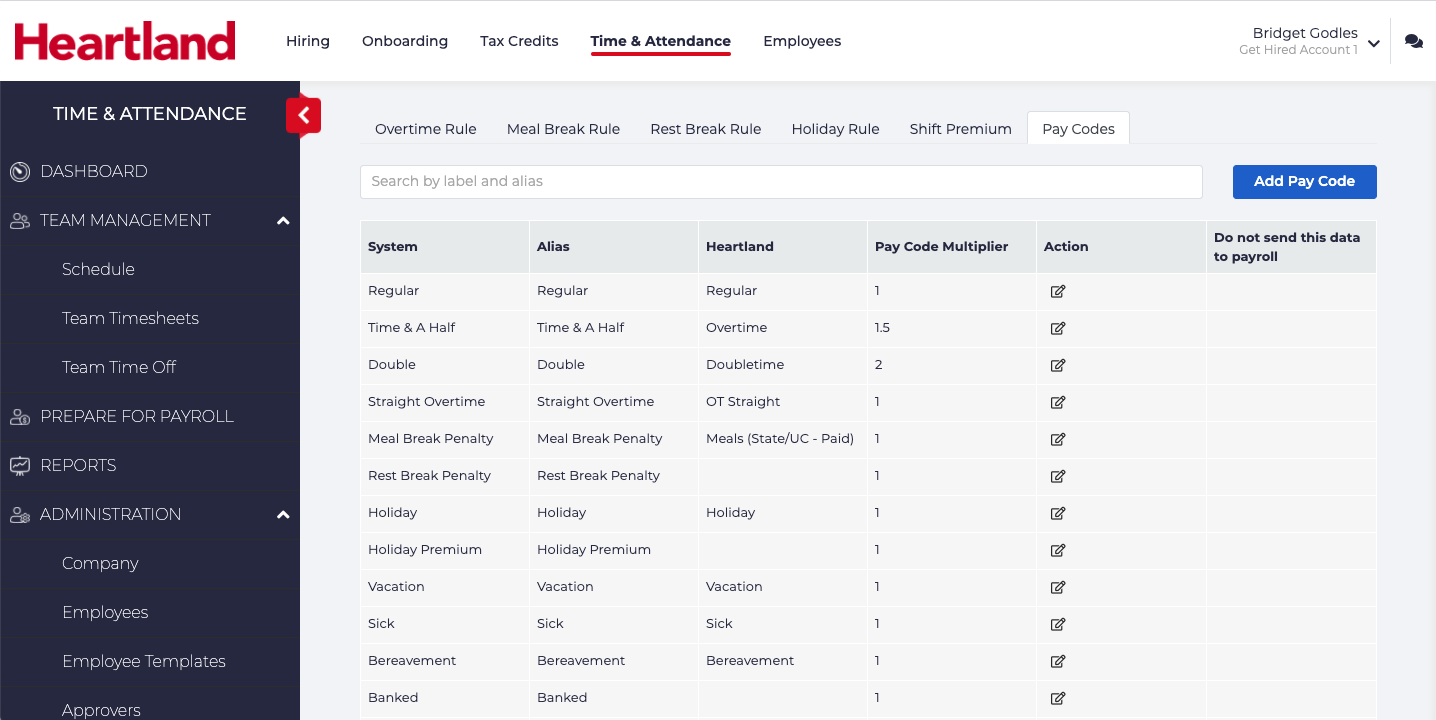
- Select Pay Codes from the menu bar near the top.
- Review the Pay Codes displayed and verify the Pay Code Multiplier for each relevant Pay Code based on your company policy.
- To update the value, select Edit icon
 in the Action column.
 - Update the Pay Code Multiplier as required.
- Click Save when complete.
Configure the Employee Templates
Customize Employee Templates
With the Pay Groups, Overtime Rules, and Pay Codes configured, we can now update the Employee Templates. These templates are used to rapidly set up your employees Timesheets, pay rules, time off and other settings without having to set these attributes manually.
Multiple Employee Templates can be configured based on how your employees are organized in your company (for example: hourly vs salary, different departments, etc).
By default, the following Employee Templates are available:
- 01 - Employees Clock In/Out - Account Owner Approves Timesheets
- 02 - Employees Clock In/Out with Breaks - Account Owner Approves Timesheets
- 03 - Clock In/Out with Breaks & Jobs - Account Owner Approves Timesheets
Note that for these default Employee Templates the Account Owner will review and approve timesheets with these templates applied.
Employee Templates can include other customizations such as Rest Break policies, Holiday Rules, and other features. Administrative rules can be used to allow administrators to approve templates. For more information, please see the Help Center.
To update your Employee Templates to match your company’s requirements:
- From the left navigation panel, click Administration > Employee Templates.
- Click the Edit icon
 for the Employee Template to update.
 - Set the following in Pay Rules and Rates:
- Work Week Starts on: Set the date the work week will start.
- Overtime Rule: The Overtime rule that applies to your employees.
- Set the following in Time Off:
- Holiday Calendar: If your company is closed on New Years Eve and Christmas, select Company Observed Holidays. If your company does not observe holidays, select No Holidays. For updating your holidays, please see the Heartland Time support documentation.
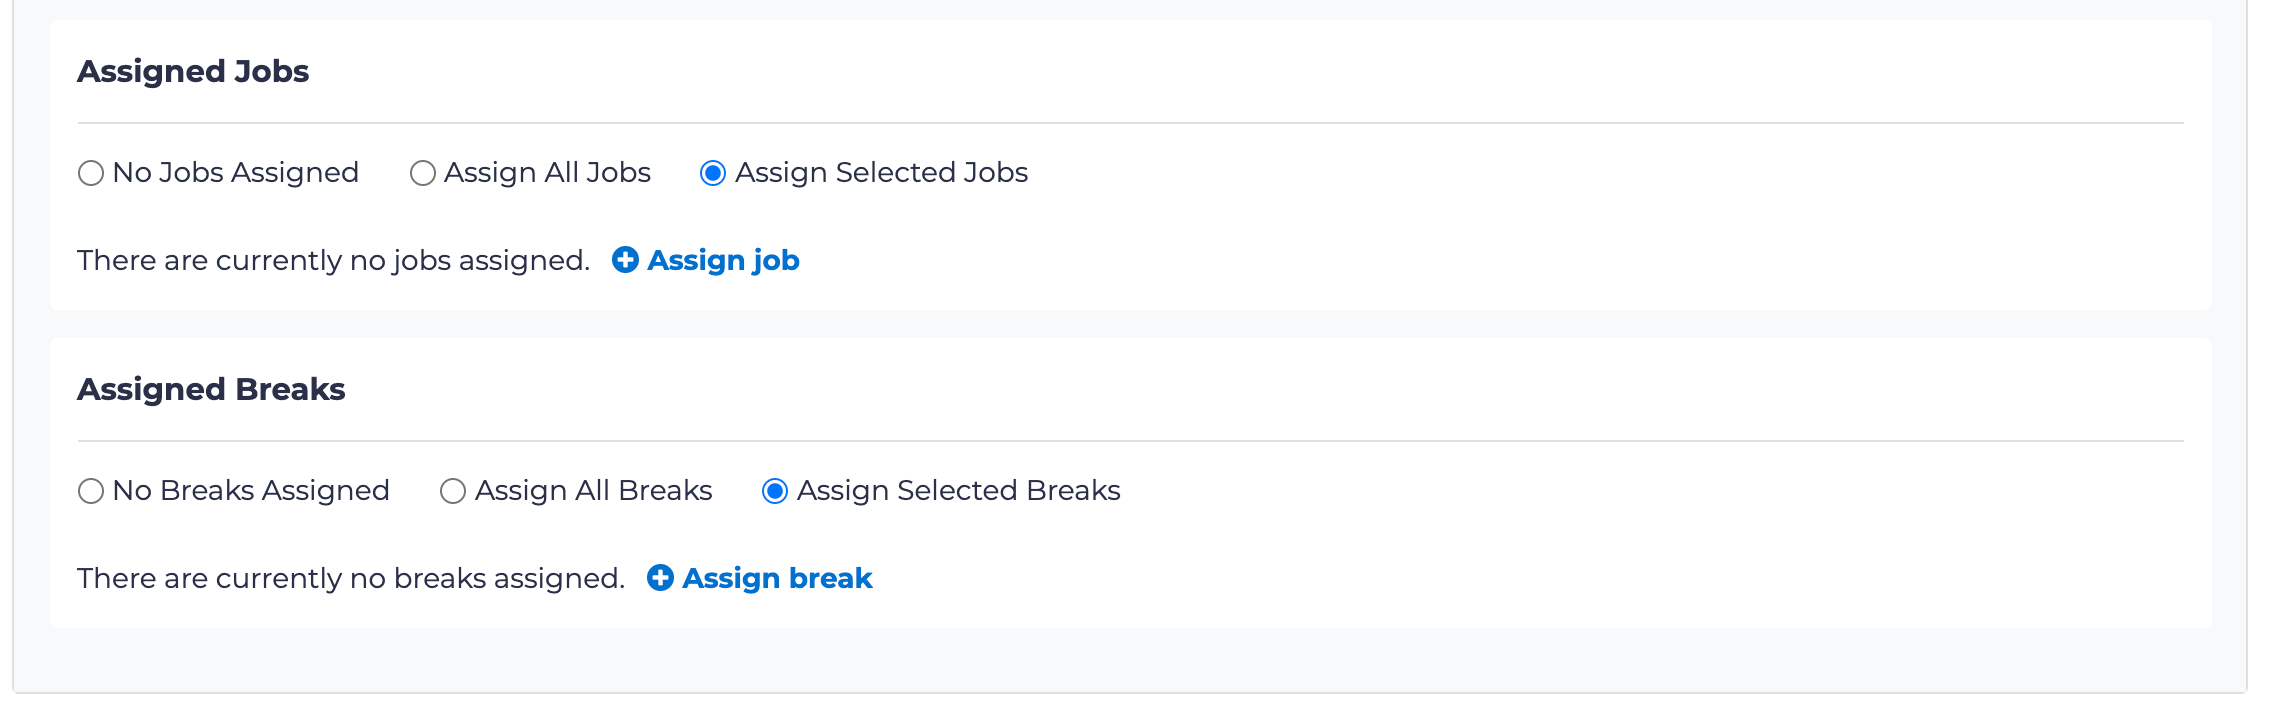
- There are two important settings to consider: Assigned Jobs and Assigned Breaks. Select these values to be Assigned Selected Jobs and Assigned Selected Breaks, then select the POS Jobs that will be synced between the POS and Heartland Time. Failure to do so could cause mismatches, since your Heartland Time may have more jobs than the POS does.
- When finished, select Close. The settings will be automatically saved.